Search Projects

Monday, August 31, 2015

Bubble Shooter Game Computer Graphics Programs in C

We have shown many Computer Graphics Programs in C but this is special one. This is the Bubble Shooter game written with the use of  OpenGL. You might have played Bubble Shooter game online and would have liked it very much. Do you want to have the bubble shooter games online free play? If yes we have the game out here. This not only free to play and kill time but you can submit this as your mini project in your college.

Bubble Shooter Game Online - Computer Graphics Programs in C

The Bubble Shooter game has two version which is totally written in C. This Computer Graphics Programs in C have exactly the same as you have Bubble Shooter game online. You might want to develop this game and learn to make it more interesting and innovative. Do you want to submit a game project as your cg lab project then I would like to suggest this. It is not only interesting but will let you learn almost all the concept of OpenGL while knowing about how it works.

Features of the Computer Graphics Programs in C

Most important feature of these Computer Graphics Programs in C is that there are two version of Bubble Shooter Game, each with different codes. These codes are written in C language and programmed, debugged, tested in the integrated development environment (IDE) MS Visual Studio.

First version of Bubble Shooter game is simpler one. In this the player have to use both Mouse and Keyword for playing the game. Click the left mouse button to and give direction and press the spacebar to release the bubble. Player can change the screen color or background with options appear via the right click of mouse.

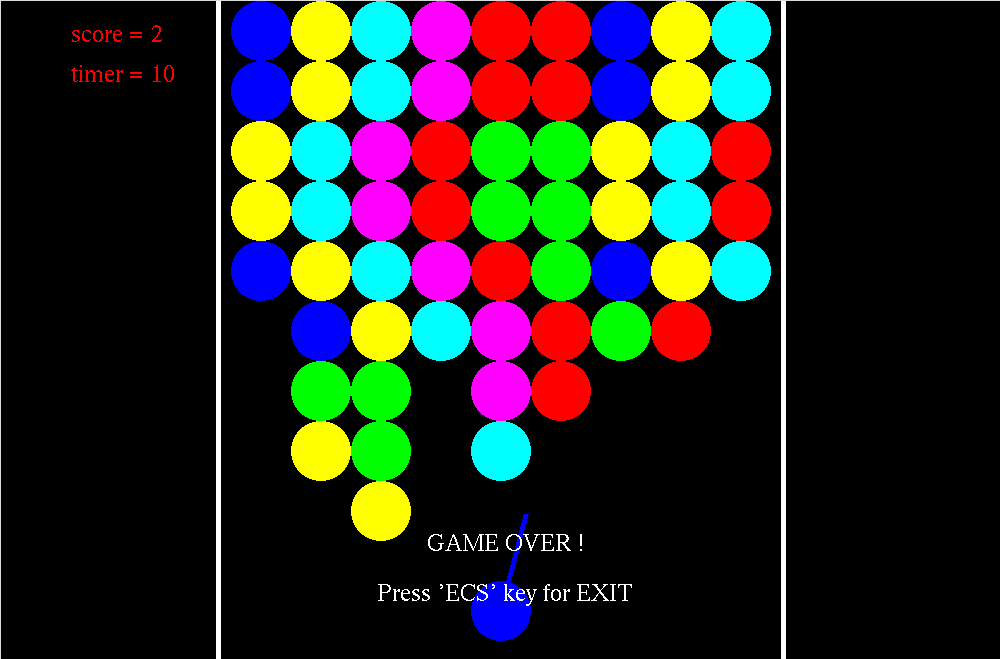
The second version of Bubble Shooter game is better than the first one and it utilized the navigation keys. Player have to use the both left and right navigation key to give direction, for releasing the bubble it's again the spacebar. I feel the second one is better but both these Computer Graphics Programs in C pointing to a good goal. It's your wish to choose either or both for presenting the mini project.

Download the Executable of the both versions Computer Graphics Programs in C.

Advance Traffic Signal C Source Code Projects

OpenGL from CGI has many feature that make it one of the best graphics API. VTU had one of the subject dedicated to the OpenGL Computer graphics, the lab for it as well. The CGV lab projects is written in c/c++. Earlier in the blog we posted many C Source Code Projects including the cgv projects for 6th sem cse about traffic signal. Today in this post we are going to show your Advance Traffic Signal project.

Advance Traffic Signal C Source Code Projects

Features of the Projects

This C Source Code Projects have many of the good features. We are listing the features below -

  1. Traffic light with three signals.
  2. House with tree and lake around it.
  3. Cloud and Sun in the Sky in the day while moon in the night.
  4. There are few vehicles that cross the road with signal installed.
  5. There is user interaction to change the signal color.
  6. User can choose between day and night.
  7. The airplane and comet in the sky can be sought by user.

User Interaction

As all the good projects have a great UI, this C Source Code Projects also have it. There is following UI that help make the project a better option for you to choose for the CGV lab projects. 

Mouse - 
  • RIGHT MOUSE BUTTON to display menu.
  • Choose from SubMenu - 1. Aeroplane 2. Comet
  • LEFT MOUSE BUTTON to quit the program
Keyboard - 

  • Press 'r' or 'R' to change the signal light to red.
  • Press 'g' or 'G' to change the signal light to green.
  • Press 'd' or 'D' to make it day.
  • Press 'n' or 'N' to make it night.
Download this C Source Code Projects in OpenGL.


Tuesday, August 25, 2015

OpenGL ES Tutorial for Android - draw triangle in OpenGL ES

How to draw a triangle in Android OpenGL ES?

There are about billions of Android devices activated till date, and more will add to the list in coming days. These billions of devices have so many of games which uses the graphics to render the objects. These games use OpenGL API to show high performing graphics game.  These games are developed by designers, programmers, developers and others, but to begin this we need to start from a small step. Hence in this OpenGL ES Android tutorial we are going to learn how to draw a triangle in Android OpenGL ES.

Prerequisite

For this OpenGL ES Android tutorial you must know the OpenGL, basic Java, and about  Android Programming. Also your system should have the Android Studio (or Eclipse with ADT Plugin) and Android SDK installed. This Android game Development tutorial will use Android Studio.

Creating the new Project

1.       First Step in this OpenGL ES tutorial is to create a new project without any activity.
2.       Next we need to create 3 classes (3 separate java files) - “MainActivity.java” , “MainRenderer.java” and “MainSurfaceView.java”. These classes are essential for almost all OpenGL ES programming in Android. You can name them a Renderer, SurfaceView or whatever but it is good practice to do like this, it will help in understanding the files.

Main Activity

3.       In the MainActivity we are going to check if Android device support OpenGL ES with specific version. For this check out our previous OpenGL ES tutorial for Android.

MainSurfaceView

4.       Extend the MainSurfaceView with GLSurfaceView and create the constructor in the class. Also include all required imports. Following is the code snippet -

package in.ruks.openglobjects;
import android.content.Context;
import android.opengl.GLSurfaceView;
public class MainSurfaceView extends GLSurfaceView {
    public MainSurfaceView(Context context) {
        super(context);
    }
}

MainRenderer

5.       MainRenderer class will implement the GLSurfaceView.Renderer.  Call all the unimplemented methods in the class. Check the code below –

package in.ruks.openglobjects;
import android.opengl.GLES20;
import android.opengl.GLSurfaceView;
import javax.microedition.khronos.egl.EGLConfig;
import javax.microedition.khronos.opengles.GL10;
public class MainRenderer implements GLSurfaceView.Renderer {
    @Override
    public void onSurfaceCreated(GL10 gl10, EGLConfig eglConfig) {
    }

    @Override
    public void onSurfaceChanged(GL10 gl10, int i, int i2) {
    }

    @Override
    public void onDrawFrame(GL10 gl10) {
    }
}

We are going to render our object here in this class and draw the object. 

Our Triangle Class

6.       Next Step is to create a new class, name  it “Triangle.java”.  This is the class where we are going to define vertices for our object (which is triangle). Here are going to define color for the vertices as well. We have to create buffer for each.
private FloatBuffer vertexBuffer;
    private float vertices[] = {
        0.0f , 0.5f,0.0f,
        -0.5f , -0.5f, 0.0f,
        0.0f , 0.5f, 0.0f
    };
    private float color[] = new float[]{ 0 .0f ,0.5f,0.0f,1.0f };  
           
First we have defined the buffer, which will contain the vertices. Next we have defined the vertices for each side of the triangle.


Final Thought

Reference

http://developer.android.com/reference/android/pm/ ConfigurationInfo.html
http://developer.android.com/guide/topics/graphics/opengl.html


OpenGL Camera and Lightning Project

One of the best way to improve your skills is to go through the minutes part of the subject rather than the profile concepts. We need to learn the basic first and repeat it as much as possible. Keeping this in mind today we are going to see a new project which test your basic knowledge of OpenGL.

There are vast topics in OpenGL which you need to master. One of the basic level concept is about camera. It is important to understand the camera, it's position and views. Another basic concept is about the Lightning which co-exit with camera. In this project we will use these concept to develop the program.


Features of the Projects -

This project has many features which will show the use of Camera and Lightning in OpenGL. The object featured in the projects are -

  • Cube
  • Torus
  • Sphere
  • Car
These objects can have more than one color with option menu. The Lightning options in the menu can also make sure the different lightning conditions. 

Check the Code and Executable on this website.